
|
|
|
|
Copyright © 2001-2017 |
Handy Backup - Backups Made Easy
Program Run Through: ---------------------------------------------------------------------------- The first screen to appear when this program is launched is a “Tip Of The Day” window. This is a nice touch as it gives you little helpful bits of information that can be useful in a program like this. As with most “Tip Of The Day” screens, you can also turn this feature off if you know what you are doing or just don’t like this idea. 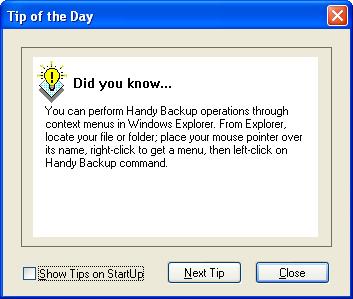 Now we move onto the main program window. The main window is not cluttered and once the program has been set up to archive, synchronize or restore your data, it will display a lot of relevant information. 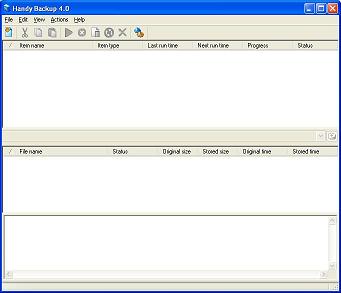 Options: ---------------------------------------------------------------------------- Before we get to the backing up our data, I thought a quick look through the settings and options available to us would be useful. The Settings for the program can be found by clicking on the last button (two cogs) on the toolbar. All of the options as I can see are well laid out and are self explanatory. There is even an option for enabling Windows Integration. This option will allow you to navigate through your hard drive using Windows Explorer and select exactly which items you want to back up on the fly. 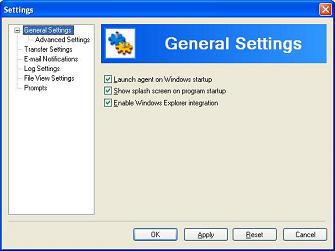 The other option for email notification is a nice touch if you are using this software at work and require notification that your data backup has been successful. However, you will require knowledge of your SMTP server details and port numbers to get this to work. 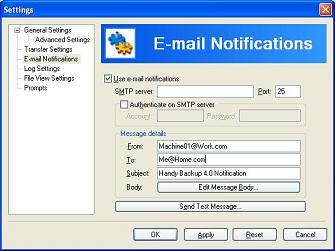 For normal users, this is a little extreme and I would like to see an easier option for home users. With mobile phones now being able to receive emails, this option could be used by a small family business to check everything has been saved properly on a day out or stuck in traffic on the way home. Help: ---------------------------------------------------------------------------- So now it is time to use the program and see what it can do. The first thing you have to do is to create a New Item. This can be found under the File menu or by clicking the first button on the toolbar. This is where you set the options for your backup, restore or synchronize profiles. 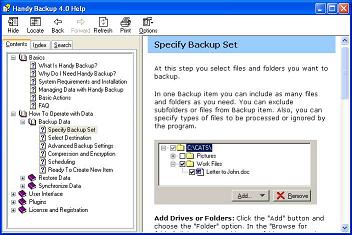 The Program: ---------------------------------------------------------------------------- Before jumping into the program, I thought I would have a look at the Help file. It is a clear and concise guide on how to use the program. It is simple to follow which is exactly what is needed for this program. The Help file gives less experienced people a chance to use this program to its full potential. 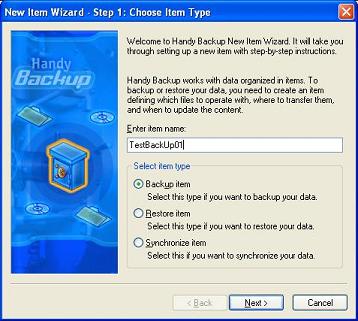 Backup Item: ---------------------------------------------------------------------------- The first option is to back up your data. Once selected, it will take you to a screen where you can select what files or folders you want to back up. 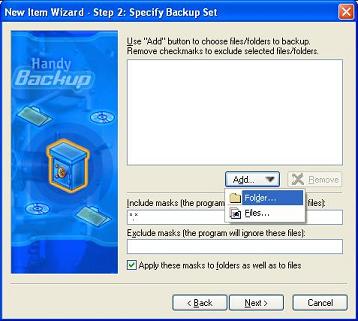 The power of this program is that it allows you to decide exactly which individual files or folders you want to back up. You can even take an entire folder and then clip out the files you don’t want, select multiple folders from different areas of your drive and add them to the backup set. 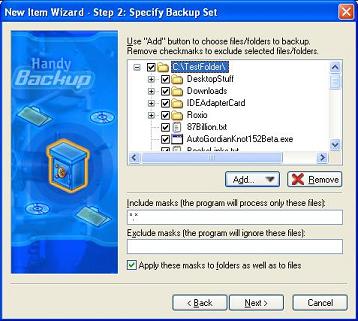 Once done you are taken to the next screen where you can choose the backup medium. Here you have the choices of Local/ LAN, FTP and CDR/CDRW. The dialog box below these choices changes to the appropriate one depending upon what you decide. By doing this, it cuts down on the number of screens you have to navigate through. 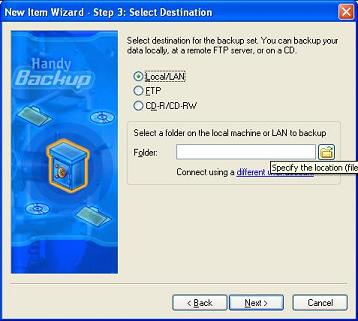 The following screen is where you can choose either Full or Incremental backup. The difference between these two is simple. Full backup will copy everything you have selected regardless if it has been changed or not. Incremental backup will only copy the data that has been changed since the last backup. The other option here is “Store Backups With Timestamps”. This option saves a new copy of the files with the timestamp that shows when the backup was made. This option is great if you want to keep older backups in case you have to revert to an older version of a file. 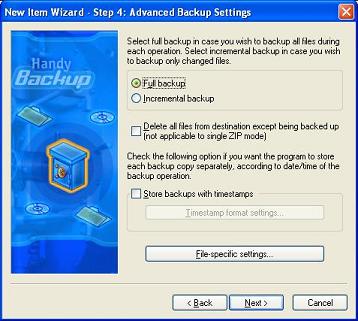 The final screen is the Scheduling window. Here you can choose when the backups will be made. Backups can be scheduled to run only once or to run every day or even every couple of minutes. The flexibility here is great. Important data could be backed up every hour with the rest of the data being backed up at the end of each day. 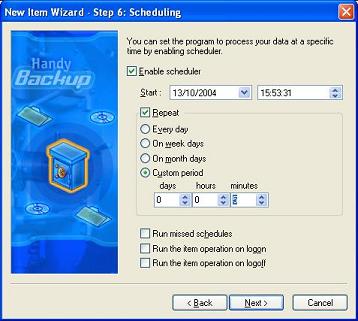 The final window shows an overview of the options you have selected. This is a nice touch as you can quickly see if anything has been set wrong. If something is wrong, all you need to do is to hit the Back button and change the improper setting. 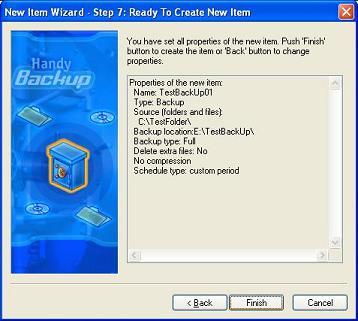 Now we come back to the main window again. As you can see, the new Backup item that we have just created is now there. You can either add other backup or restore items to the set or let the one you have just created start its job by hitting the Execute button. 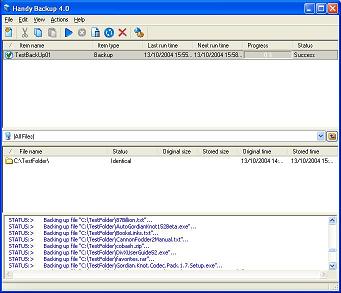 Restore Item: ---------------------------------------------------------------------------- The Creation of Restore item is basically the same as the creation of backup item. Here you first select the index file in the backup folder. Next you select the location of where it will be restored to. Here the original location is set as default but you are given the option to restore it to another location if you require. Once again you can choose to do a Full or Incremental Restore. Finally you are given the option of setting a desired schedule for the restore. You can ignore this step and just let the restore operation happen only once. Synchronize Item: ---------------------------------------------------------------------------- The Synchronize item allows you to keep two copies of exactly the same data in two different places or backup mediums. Once again the data for backup has to be selected first. Next you have to specify the backup location. Here the CD option has been removed. After this, you get three options,
Next we'll take a look at the test machine and data... ---------------------------------------------------------------------------- Summary:
|
 |